
Posted on June 1, 2021
Rsync + NextCould on Win10
If you are concerned about privacy on the internet, like many others today, you might have already considered stop using Google’s of Apple’s cloud services. Email, photo book, cloud drive, maps and many other services that we so seamlessly use can exploit a lot of our personal life.
I have been trying to walk out of the “googlespheare” for some time now, but it’s not easy. The first successful step for me was ditching Google Drive.
Here you’ll find a detailed walkthrough of my solution that uses two hard drives (for redundancy) and a private cloud server. They can work independently in case you don’t need one or the other, for example: rsync data without the remote drive or vice-versa.
The solution:
1 – Use a syncing tool to keep a local copy of my SafeDrive (that’s how I call it) folder into a second hard drive for redundancy.
2 – Sync this folder with a privacy friendly cloud service, in my case a NextCloud installation.
The problems:
1 – Rsync is the go-to tool for folder/drive synchronization, but it doesn’t run natively on Windows.
2 – NextCloud is opensource but the server where you’ll run it’s usually not free.
Keep in mind that if you have a NAS or other server at your disposal you can install your NextCloud there and save a buck. Since I was paying for Google Drive I just redirected that money to a Hosting Service and hired the cheapest option possible, which was pretty good for me already.
NextCloud
Note 1: If you don’t need a cloud server, skip this part and go straight to Rsync down below.
Note 2: I’m assuming that you know how hosting services, domains and basic hosting tools work. If not I’ll try to get enough tips through the text to help you get through.
If your not aware about what NextCloud is, I really recommend taking a look at their website https://nextcloud.com. Being opensource and privacy focused, NextCloud was my choice for replacing Google Drive.
Step 1 – Hosting
To host my new cloud drive I’ve hired https://www.hoststar.at/en but this choice is entirely up to you. I’ve chosen hoststar for the proximity, support and price, but you may find other options more convenient for you.
In my hosting plan I have 100gb of space, email, PHP and Pearl, MySql, etc.. all you’d expect from a basic hosting service.
Step 2 – Download and install NextCloud
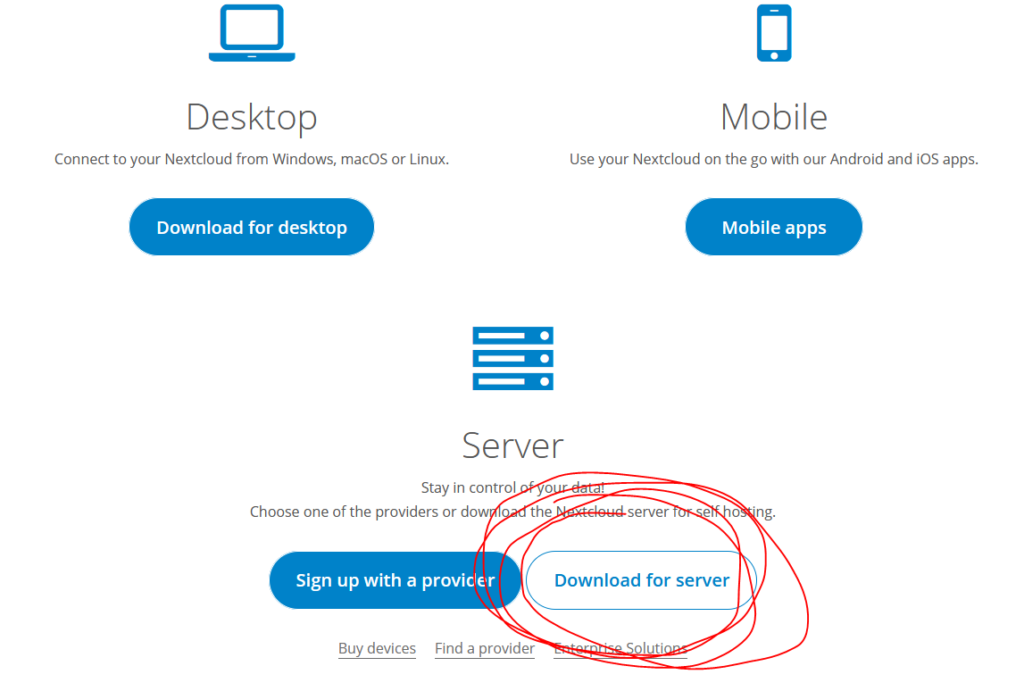
At https://nextcloud.com/install/ select the option Download for Server:
Decompress the zip file and transfer that to your hosting site using the FTP tool of your choice. My war horse is the very trustworthy FileZilla and you can download it here: https://filezilla-project.org/download.php.
Tip: create a “cloud” folder for your NextCloud installation. Don’t use the root folder of your site. You may want to use that for something else later.
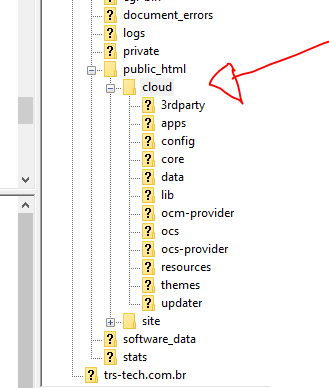
Now you can access the NextCloud installation with your browser: “http://<your_domain>/cloud“. The installations it’s pretty straight forward. In a couple of minutes you should be at your dashboard.
Step 3 – Download and install NextCloud Client for Windows
Assuming that you already have a “Drive folder” in your computer and that your hosting space is enough to store it, now it’s time to install the NextCloud client that will sync your drive with your (now you can call it) Private Cloud. On https://nextcloud.com/install/#install-clients you can download the agent and install it. Again is pretty straight forward. In the first start-up you will be prompt to insert your server address and your NextCloud login. If you need more details please look here https://docs.nextcloud.com/desktop/2.6/installing.html.
The agent will look like this:
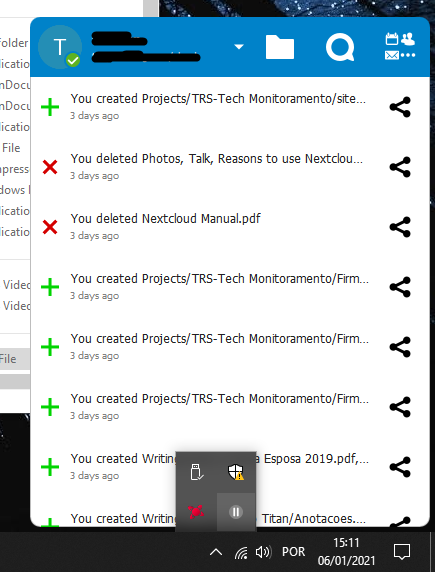
And that’s it! You have now your own Private Cloud!
NextCloud has numerous functionalities including Email, Talk (chat service), Calendar and so on. I’m sure you’ll be glad to find out that it’s a very powerful tool.
Rsync on Windows
Your data is now safe on your Private Cloud, but you’re still not satisfied. The manual says “data must be in 3 copies, in 3 different medias and in 2 different locations”. Well, you already have 2 copies in 2 different locations, but a 3rd copy is still missing. Luckily you already purchased and installed a second hard drive. That’ll do!
All we need now is to sync our already “safe drive” folder to our second hard drive. The way I’m doing this (and will teach you here) is using Rsync. Unfortunately Rsync doesn’t have a native windows distribution, so we need to install an environment compatible with linux.
Step 1: Installing Cygwin
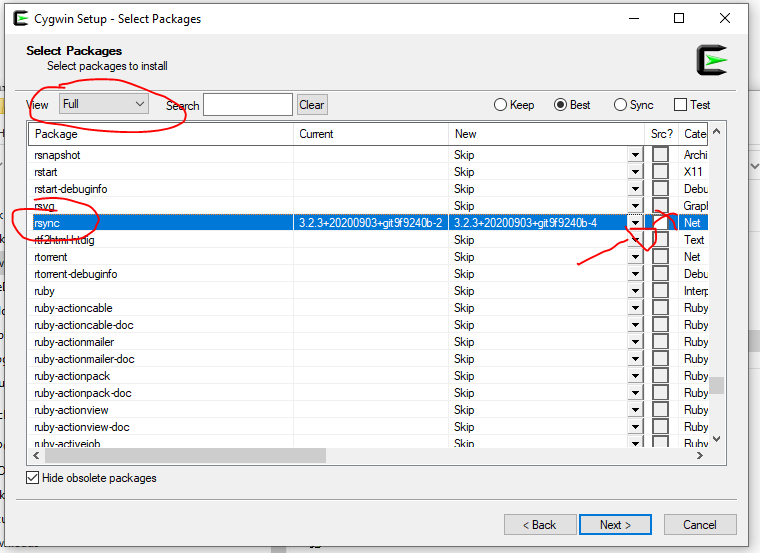
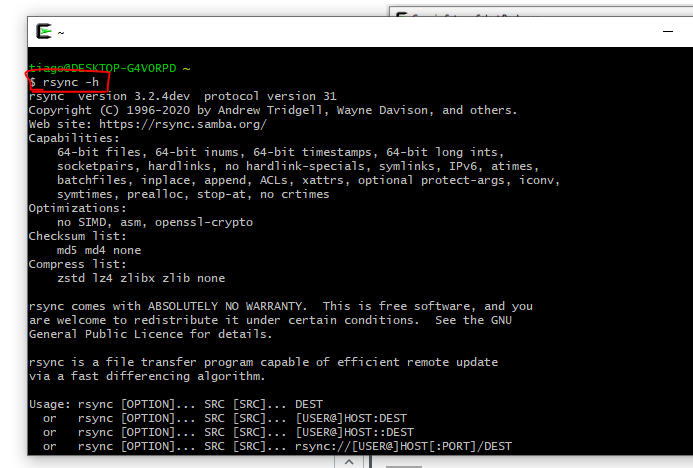
Download the terminal in https://www.cygwin.com/install.html and install it using the default options. Don’t forget to select rsync on the packages page!
To test your installation, open Cygwin64 and type “rsync -h”. You should see the help page:
Step 2 – Configuring Scripts
Cygwin will build your drives in /cygdrive. To make thinks easy lets create some link (shortcuts) to them. Assuming that your drives are d:/ an e:/, lets create links called storage1 and storage2.
ln -s /cygdrive/d /storage1
ln -s /cygdrive/e /storage2
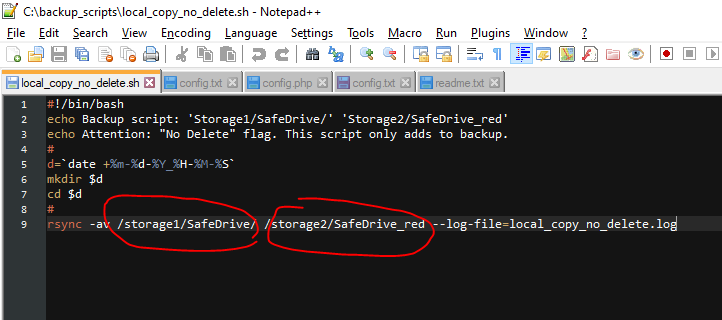
My Safe folder is in D:/SafeDrive and and my “redundant safe folder” is in E:/SafeDrive_red. Before creating the script, let’s first create a script folder in c:/backup_scripts.
Copy the sync scripts here and place them in your new backup_scripts folder.
Now we are almost done. First change the drive or folders name to fit your needs.
Step 3 – Running Scripts
Before testing your script be sure that your destination folder is created and it’s empty. In my case that was E:/SafeDrive_red (remember that in the cygwin environment we created a alias to that folder called storage2.
To run the Backup Script, open a Command Prompt window and call the .bat script.
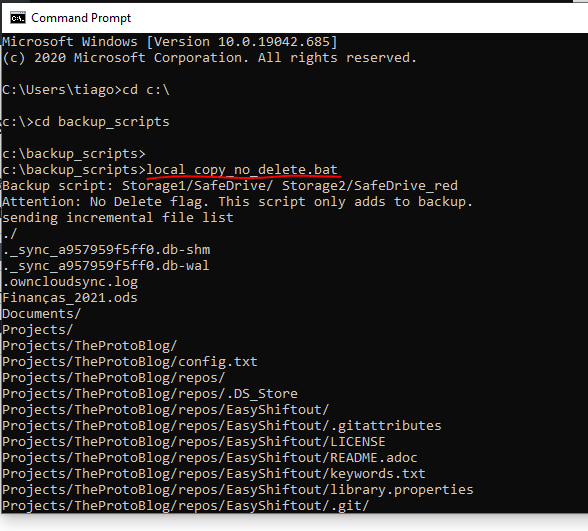
Depending on the size of your folder this can take a lot of time!
That’s it! Your redundant folder is synchronized with your base folder!
You probably noticed that the script is called “_no_delete”. That’s my choice to save files from accidental deletion. You _red folder will keep files that you have already deleted.
The “sync with delete” script is on the folder you downloaded. I suggest that you use that with extra caution!
Step 4 – Running the Backup Automatically
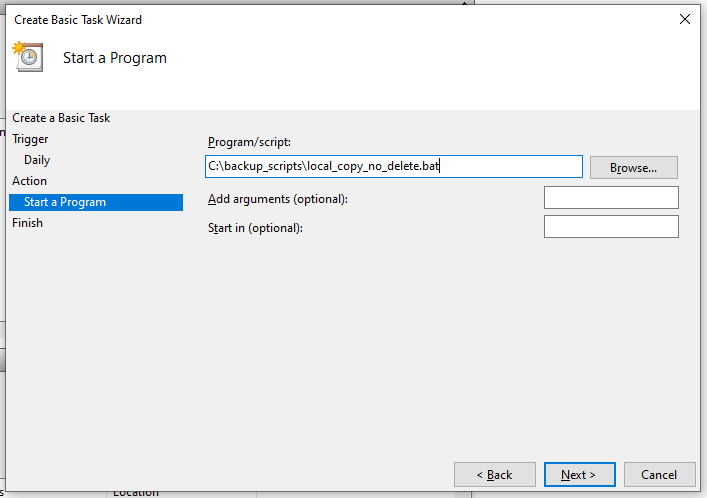
We want the backup to run automatically, for that we’re gonna use the Task Scheduler. Open and create a Basic Task.
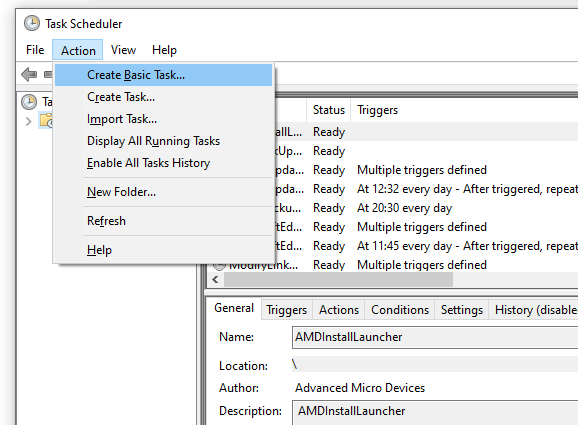
Give the task a name and choose the repetition. I’ve used everyday (once a day) at 20:30.
In the Action, chose Start a Program and add the path to your backup script.
5 – Testing and Checking
I recommend that you manually check if the files are OK at first. You also can check the logs. The script will create a log folder and a report for every run in c:\backup_scripts\01-06-2021_xx-xx-xx
Conclusion
If everything went well, you should now have a running NextCloud in your own private server. Your drive folder is also synchronized with the NextClound and with your redundant hard drive. Your data has never been more secure!
Thank you very much for reading theprotoblog!